
Rescue
This article explains what rescue mode is on servers, how to enable it, and in which situations it can be useful.
What is Rescue Mode?
Rescue mode is a VPS operating mode in which, instead of booting the guest OS, the server boots into a SystemRescue LiveCD image.
In simple terms: when rescue mode is enabled, instead of the installed Linux or Windows system, the server will boot into a Linux environment with a set of tools for recovering the installed operating system.
You can following with the full set of SystemRescue tools at https://www.system-rescue.org/System-tools/
Examples of Rescue Mode Usage
Resetting the root password on Linux
Resetting the Administrator password on Windows
How to Put a Server into Rescue Mode?
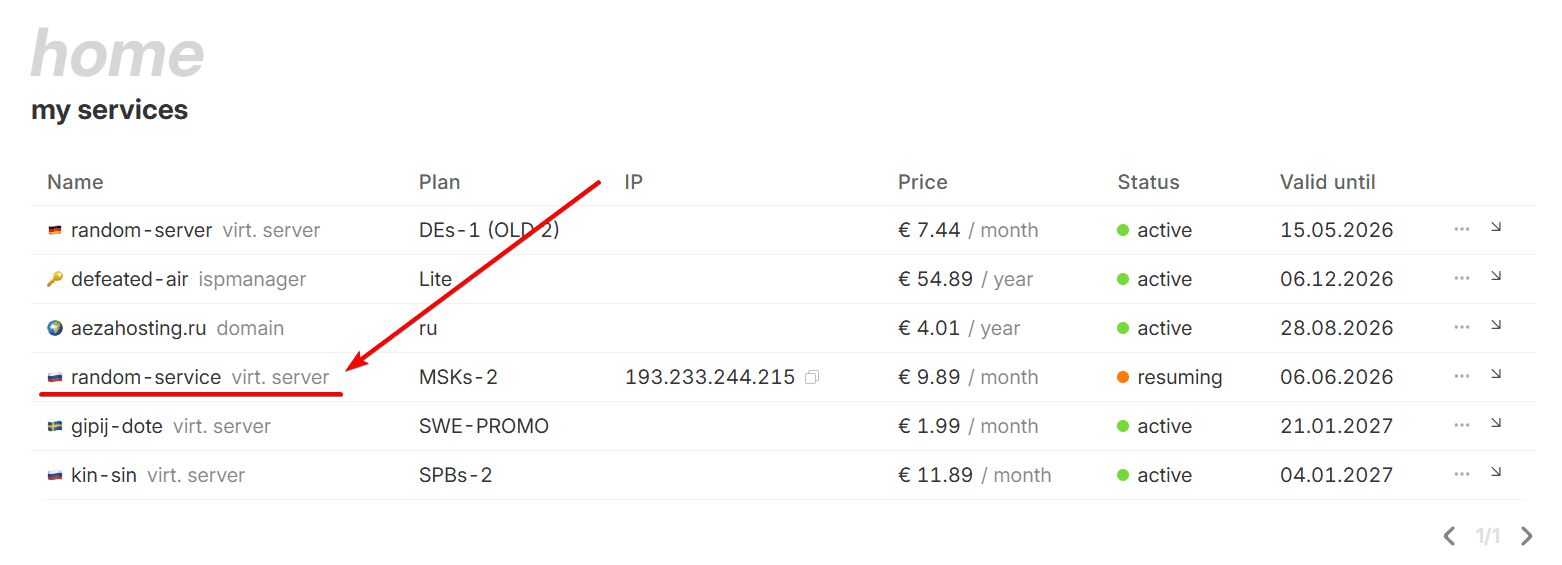
In the billing, open the service page.
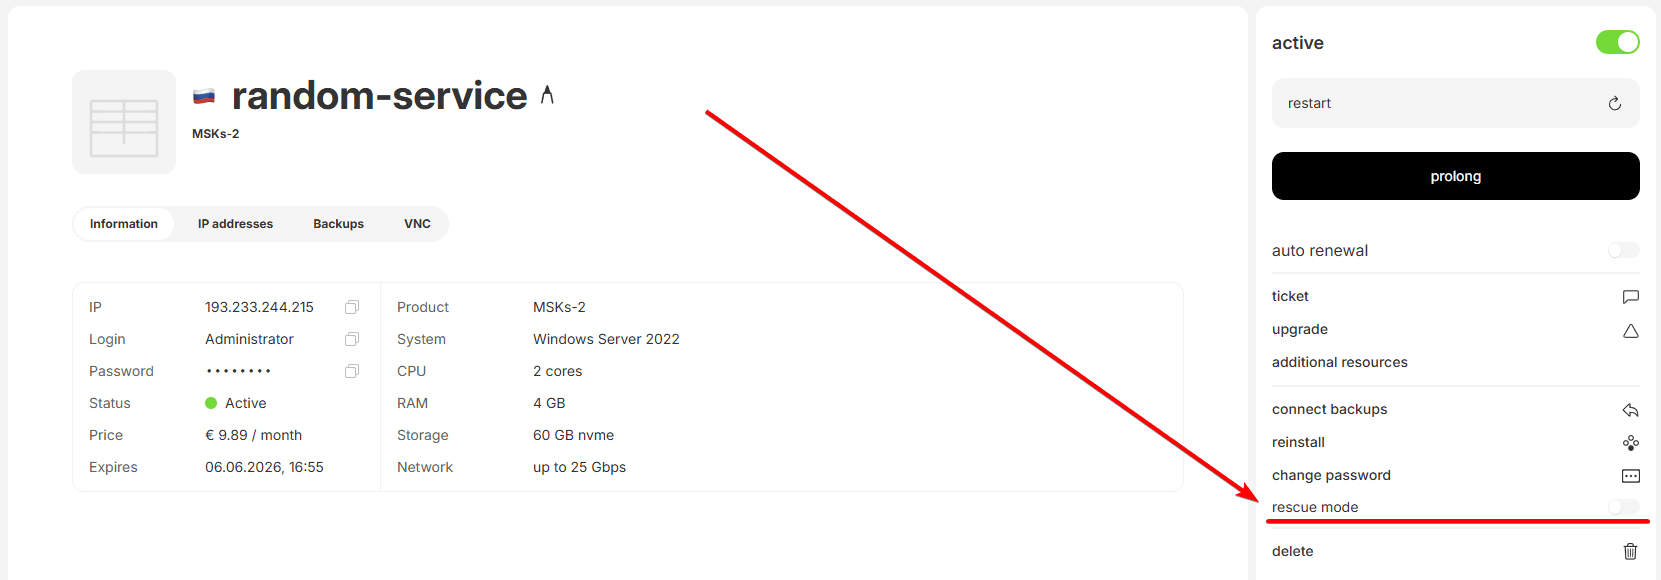
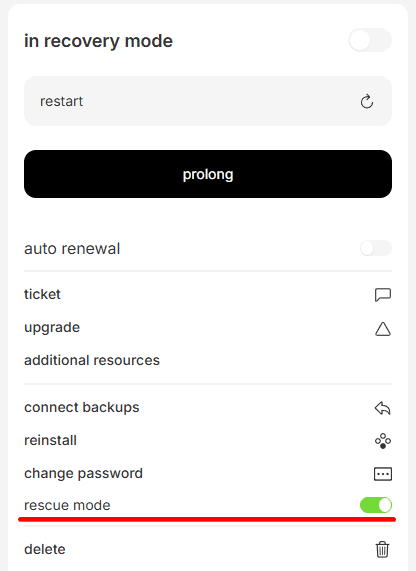
Then enable the “rescue mode” toggle in the menu on the right.
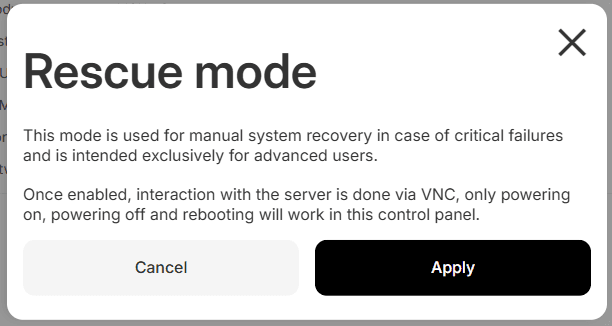
After that, a warning will appear which you need to confirm.
Switching the server into rescue mode usually takes a few minutes. Wait until the operation is completed.
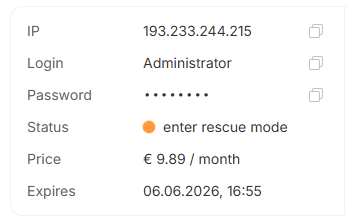
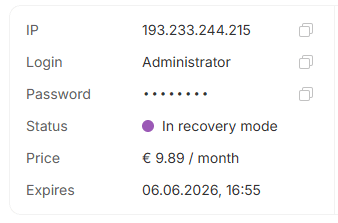
Once completed, the service status will change to “In recovery mode”.
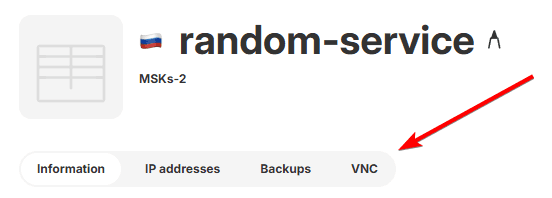
To use rescue mode, go to the VNC tab.
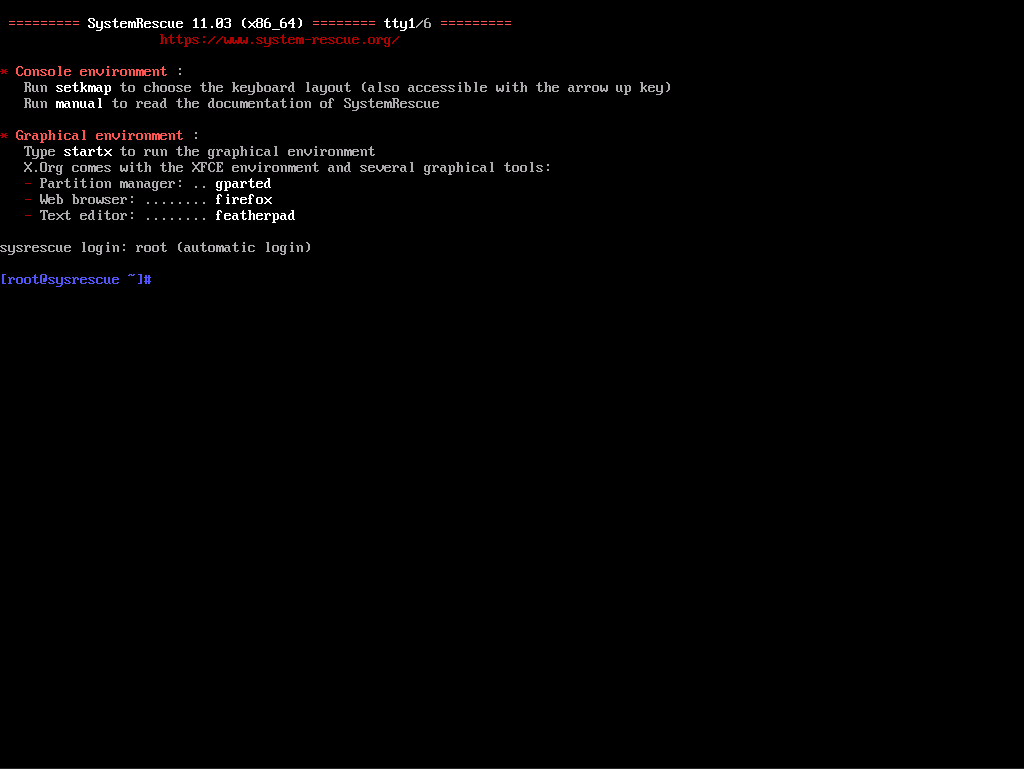
Done! You are now in rescue mode!
Network Configuration in Rescue Mode
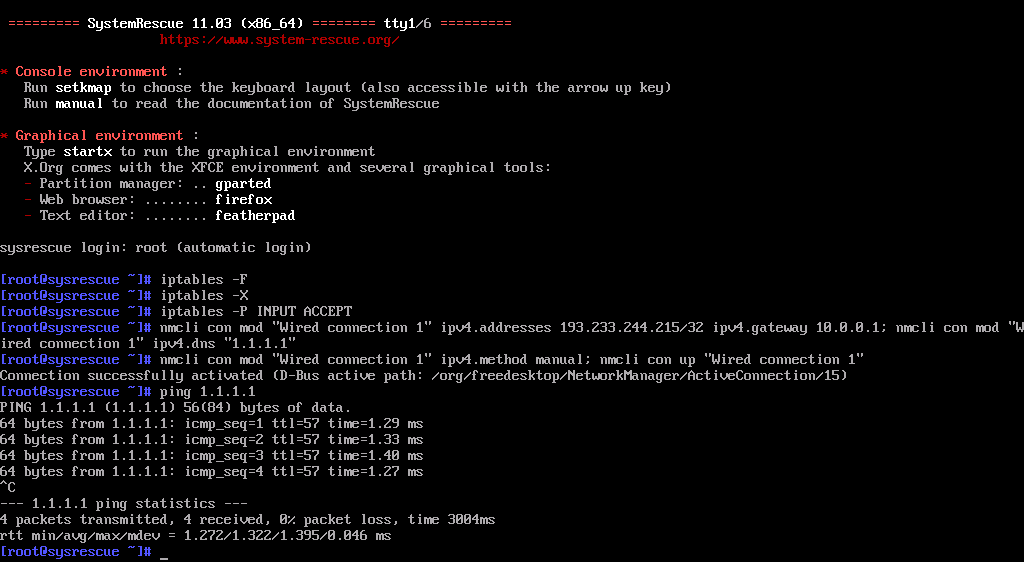
By default, networking is not configured in rescue mode, so internet access will not work until you complete the following setup.
Run the following commands one by one in order:
In VNC, paste works using the button above the terminal window — Ctrl+V does not work.
iptables -Fiptables -Xiptables -P INPUT ACCEPTReplace SERVER_IP with your server’s IP address, otherwise networking will not work.
nmcli con mod "Wired connection 1" ipv4.addresses SERVER_IP/32 ipv4.gateway 10.0.0.1; nmcli con mod "Wired connection 1" ipv4.dns "1.1.1.1"nmcli con mod "Wired connection 1" ipv4.method manual; nmcli con up "Wired connection 1"Done, networking is configured!
Configuring SSH and SFTP
To connect to the server via SSH and SFTP in recovery mode, you need to set a password for the root user.
After configuring networking in recovery mode, run the following command:
passwdYou will be prompted to enter the new password twice.
Please note: in Linux, password characters are not displayed while typing — this is standard security behavior. Simply type the password and press Enter.
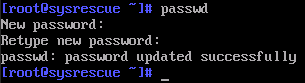
The message
passwd: password updated successfully
indicates that the password has been successfully changed.
After setting the password, you will be able to connect to the server via SSH and SFTP using the root username and the password you just set.
However, if you have connected to this server before, you may encounter the following error:
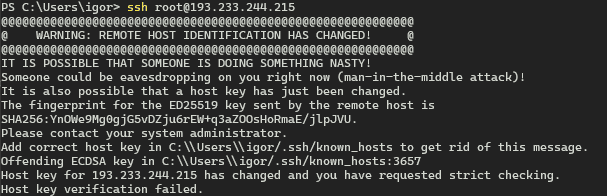
To fix this when using the OpenSSH client, run the following command:
Replace SERVER_IP with your server’s IP address.
ssh-keygen -R SERVER_IP
After running this command, you will be able to connect successfully:

Downloading Files via SFTP
If the OS bootloader is damaged or other issues occur, you may need to download important data from the server.
Before following this guide, configure networking and SSH in recovery mode using the instructions above.
First, get a list of disks by running the following command:
lsblk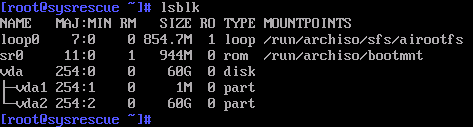
Typically, the disk will contain 2 logical partitions: the first one vda1 contains the bootloader, and the second one vda2 contains the main server filesystem.
Next, mount the logical partition containing your data using the following command:
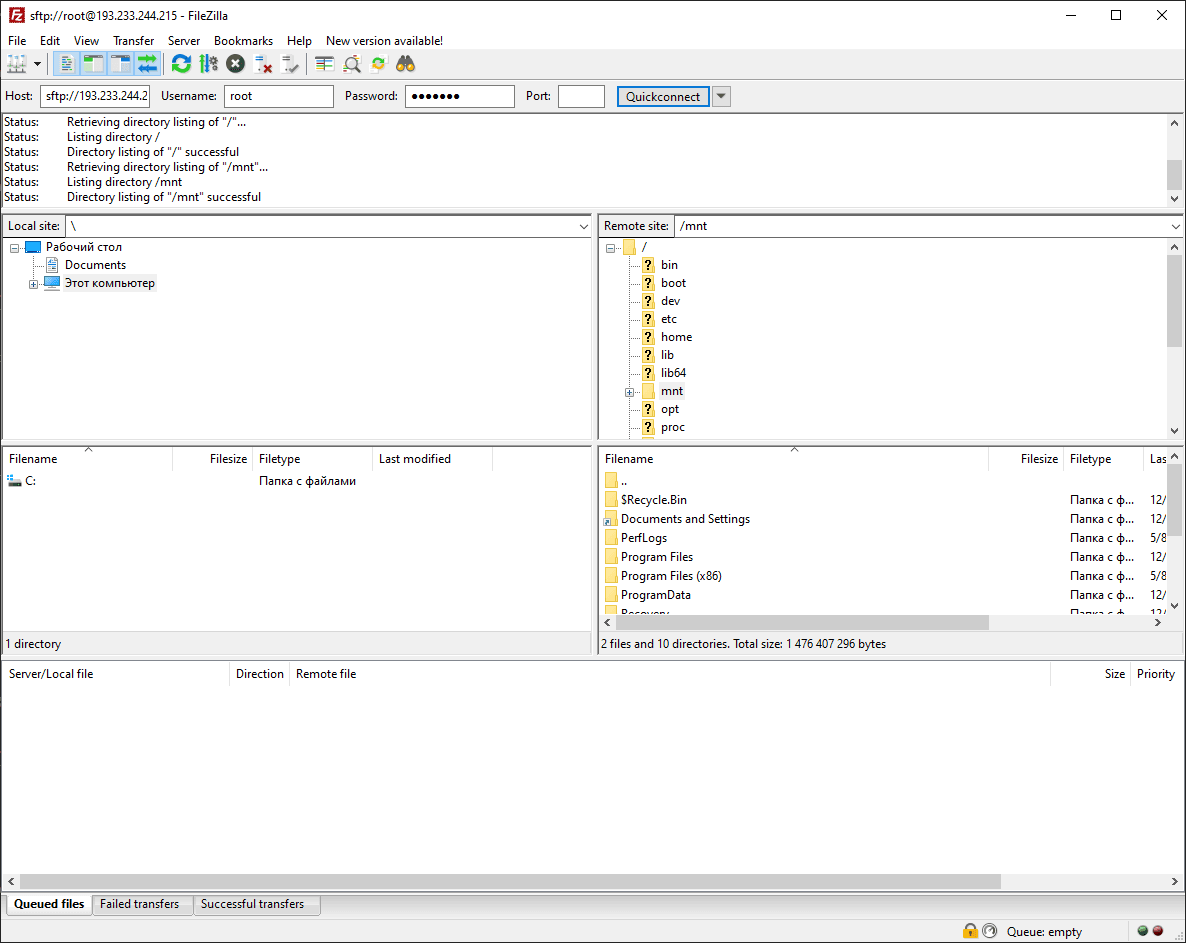
mount /dev/vda2 /mntAfter running this command, you will be able to connect to the server via SFTP and access the entire server filesystem inside the /mnt directory.
You can find instructions for connecting via SFTP here: https://wiki.aeza.net/en/guides/connect-ssh-sftp/
Resetting Linux Password
If you forgot the root password for your server and password reset via the control panel does not work, you can reset it manually by following this guide.
After booting into rescue mode, get a list of disks by running:
lsblk
Typically, the disk will contain 2 logical partitions: the first one vda1 contains the bootloader, and the second one vda2 contains the main server filesystem.
Mount the partition containing the installed system:
mount /dev/vda2 /mntThen run the following command:
chroot /mntNow set a new password for the root user using:
passwdYou will be prompted to enter the new password twice.
Please note: in Linux, password characters are not displayed while typing — this is standard security behavior. Simply type the password and press Enter.
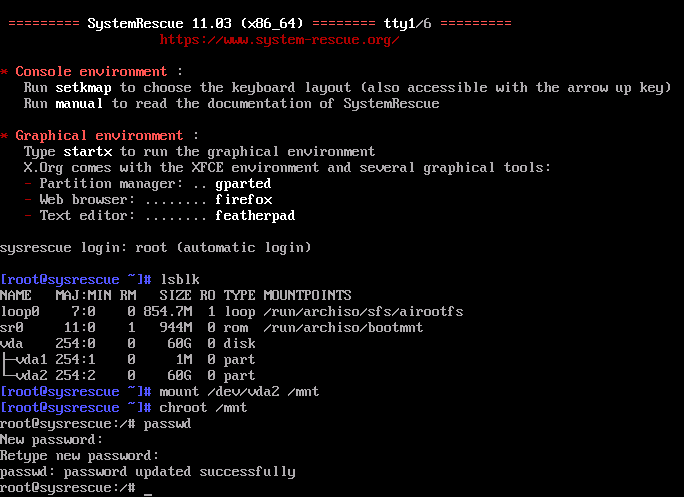
The message
passwd: password updated successfully
indicates that the password has been successfully changed.
Done! You can now exit recovery mode and use your new password.
Resetting Windows Password
If you forgot the password for the Administrator account on your server and password reset via the control panel does not work, you can reset it manually by following this guide.
After booting into recovery mode, get a list of disks by running:
lsblk
Typically, the disk will contain 2 logical partitions: the first one vda1 contains the bootloader, and the second one vda2 contains the main server filesystem.
Mount the partition containing the installed system:
mount /dev/vda2 /mntThen navigate to the following directory:
cd /mnt/Windows/System32/configRun the following command:
chntpw -l SAM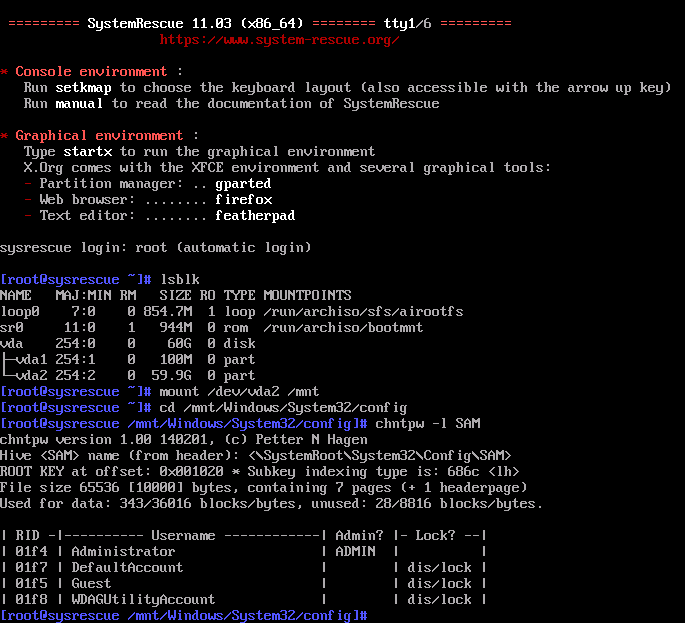
To reset the password for the desired user, run the following command using their RID (by default, 0x01f4 for Administrator):
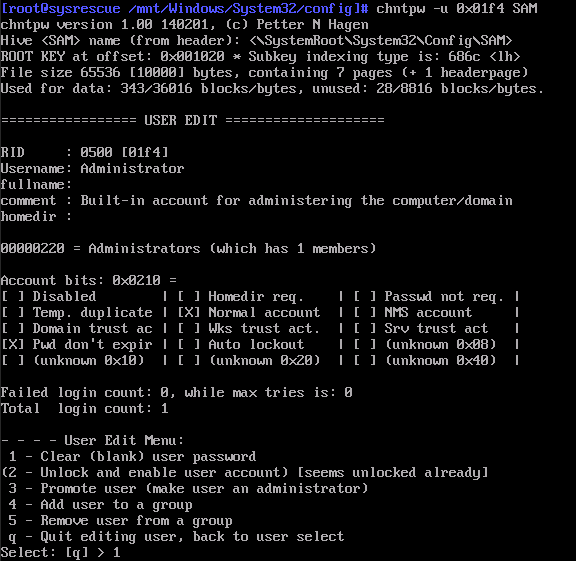
chntpw -u 0x01f4 SAMIn this example, the RID 0x01f4 is used because we are resetting the password for the Administrator account.
Choose password reset by pressing 1 and then Enter:
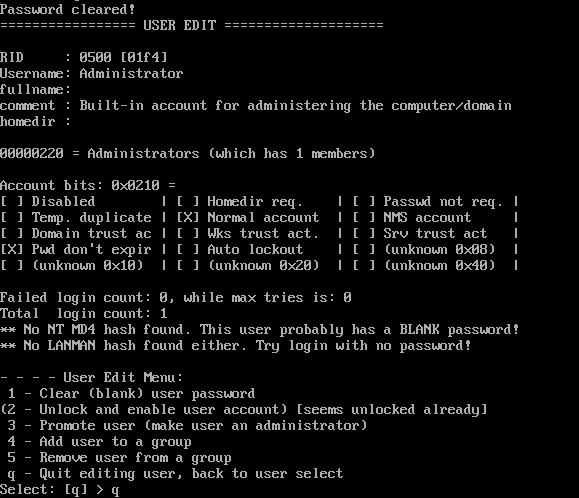
Then exit by pressing q and Enter:
Confirm saving the changes by pressing y and Enter:
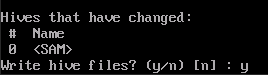
Then exit recovery mode.
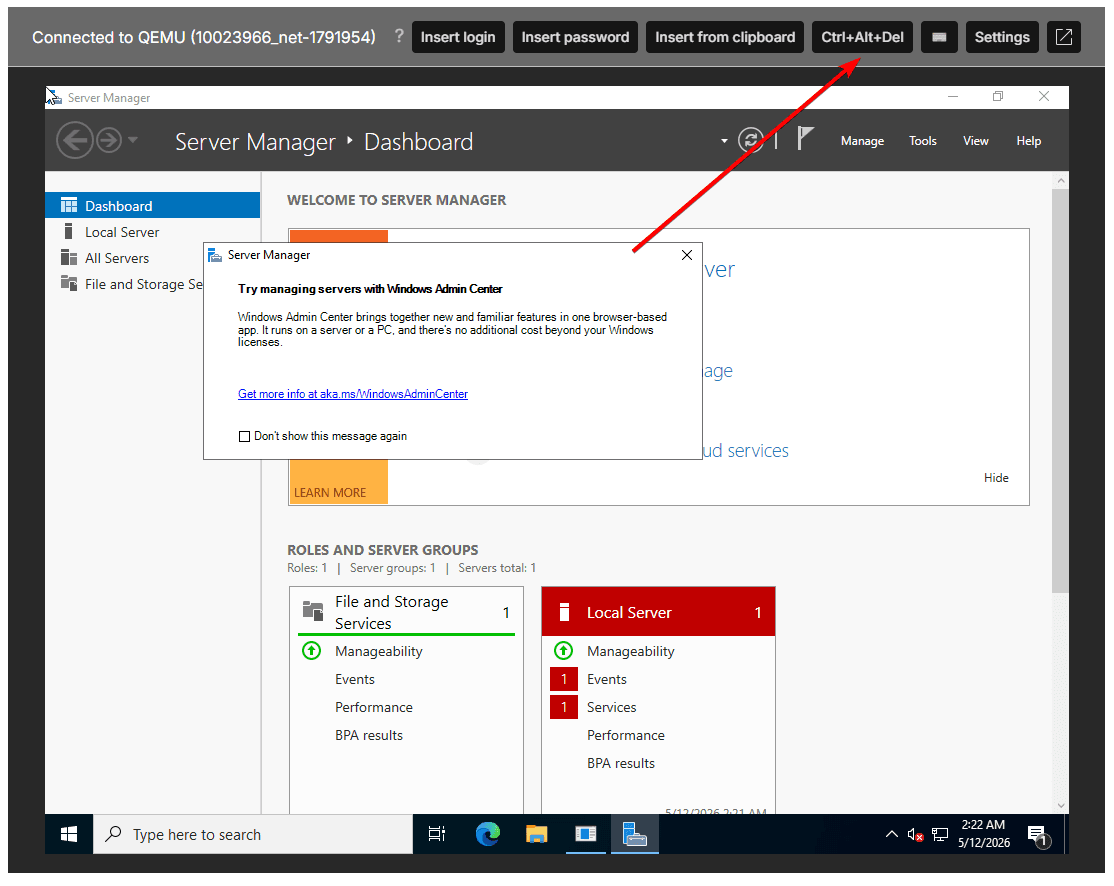
Wait for Windows to boot. You may need to refresh the page in your browser (Ctrl + R).
After booting, Windows will automatically log into the Administrator account. To enable RDP access, you need to set a password. Press Ctrl+Alt+Del.
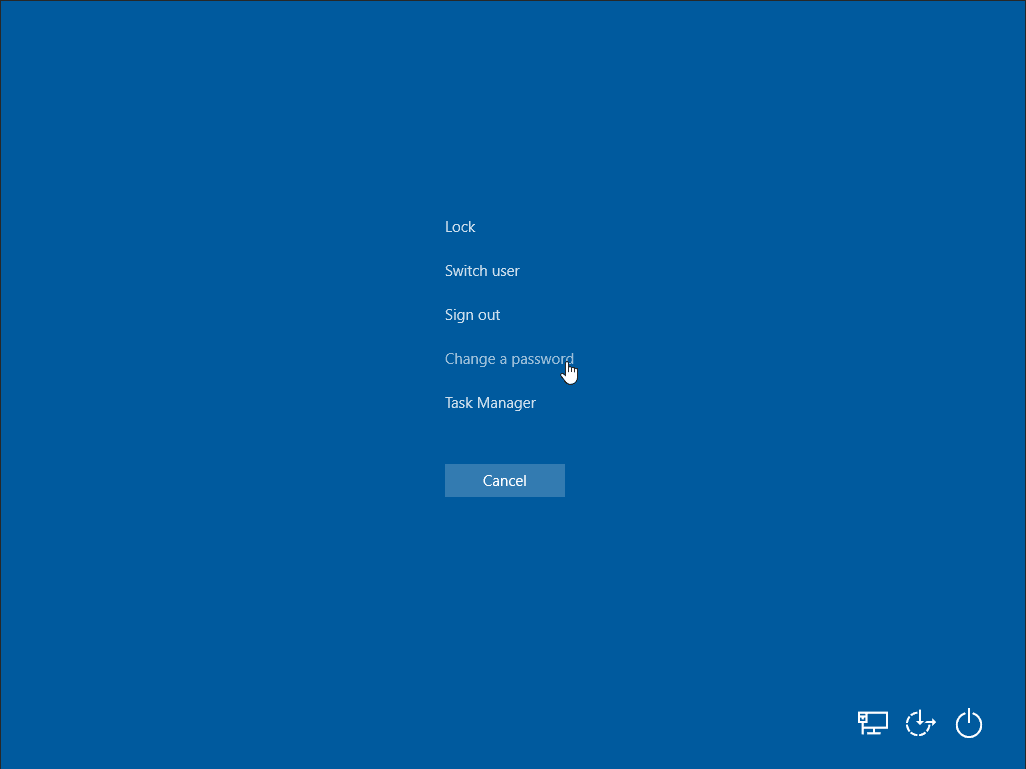
Select “Change a password”.
Set your desired password and leave the “Old password” field empty.
Please note: by default, Windows passwords must meet complexity requirements — they must include uppercase and lowercase letters, numbers, and be sufficiently long.
Also pay attention to the current keyboard layout in Windows on the server, since the server receives the actual key presses, not the characters you intended to type.
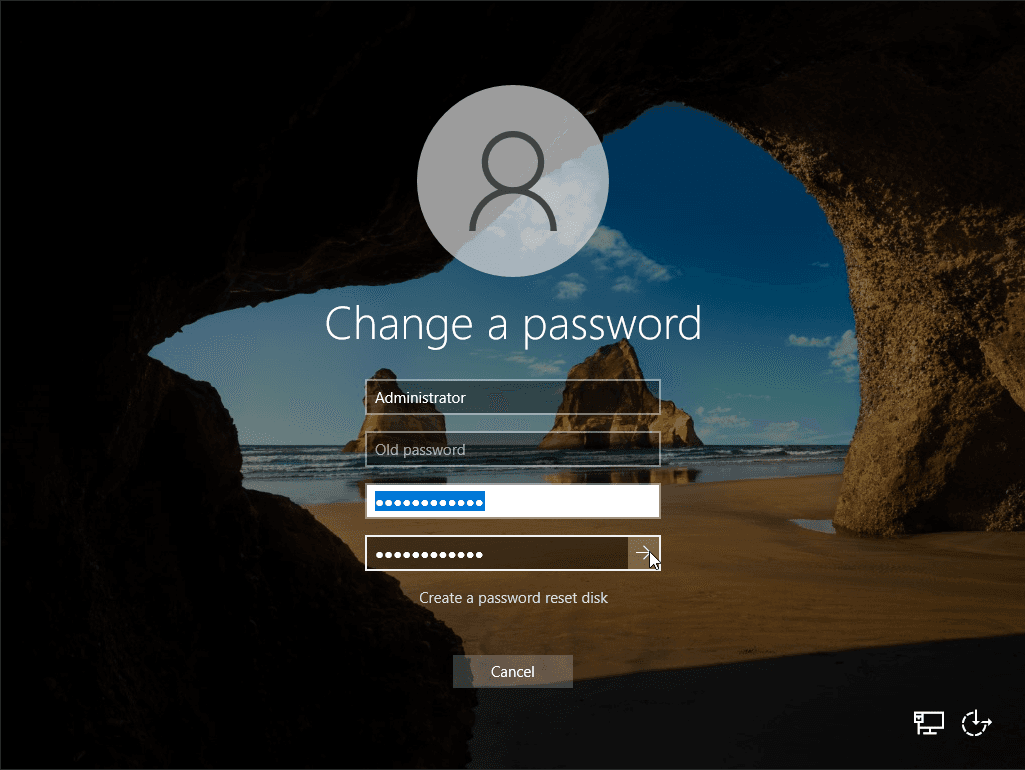
Done! You can now use your new password.
How to purchase an additional IP address (IPv4)
By default, we provide each server with a separate dedicated IP address, however, if you need to supplement it with additional addresses, this instenction is for you!
Dedicated servers
A type of servers that allows you to get a personal physical server with the maximum possible technical characteristics of CPU, NVMe and communication channels at the current time.