
Using the MTR Utility
Step-by-step instructions for using MTR on different platforms
What is MTR and what is it used for?
MTR (My Traceroute) is a network diagnostic utility that combines the functionality of two classic tools:
- Ping — measures latency (the round-trip time of network packets),
- Traceroute — displays the route (which nodes/routers the traffic passes through).
Using MTR, you can monitor the network path in real time and identify where packet loss or increased latency occurs—for example, due to your ISP, intermediate routers, network congestion, or other issues.
Windows
Download WinMTR using the following link:
After downloading, extract the archive to any convenient folder.
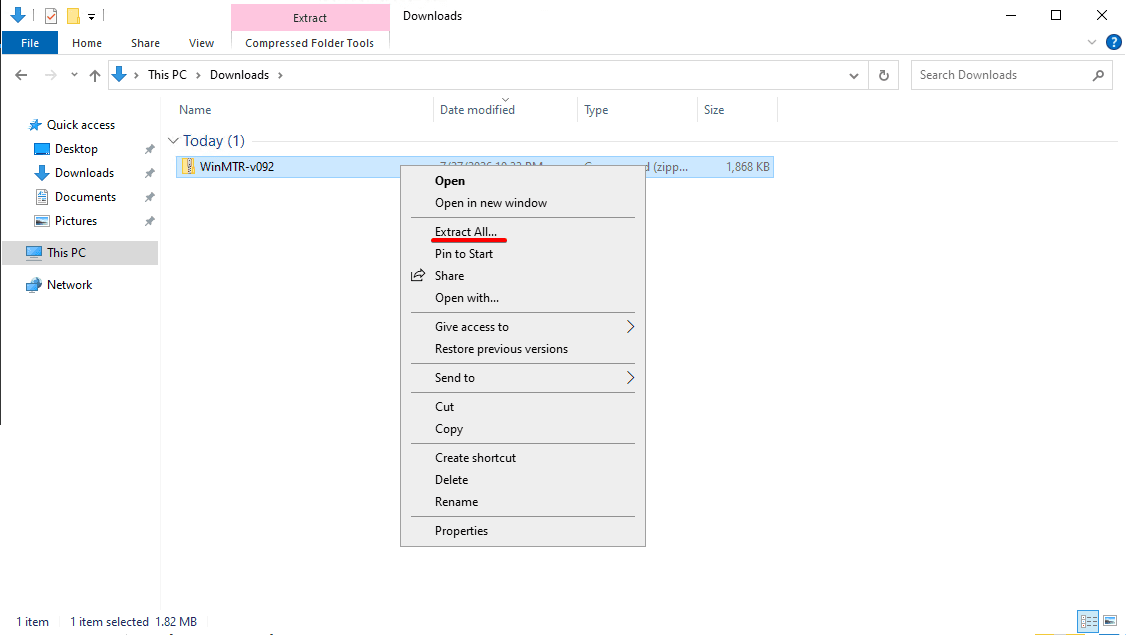
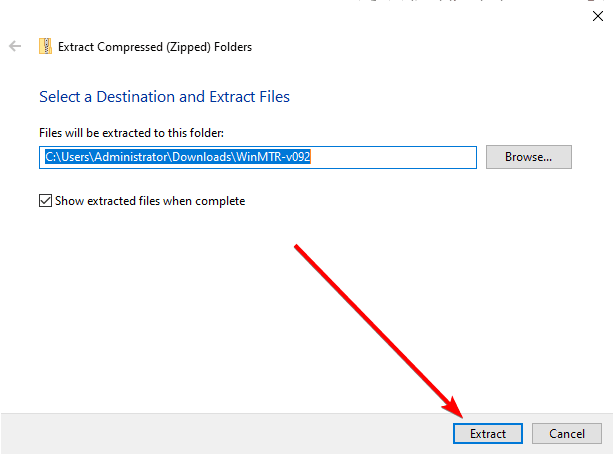
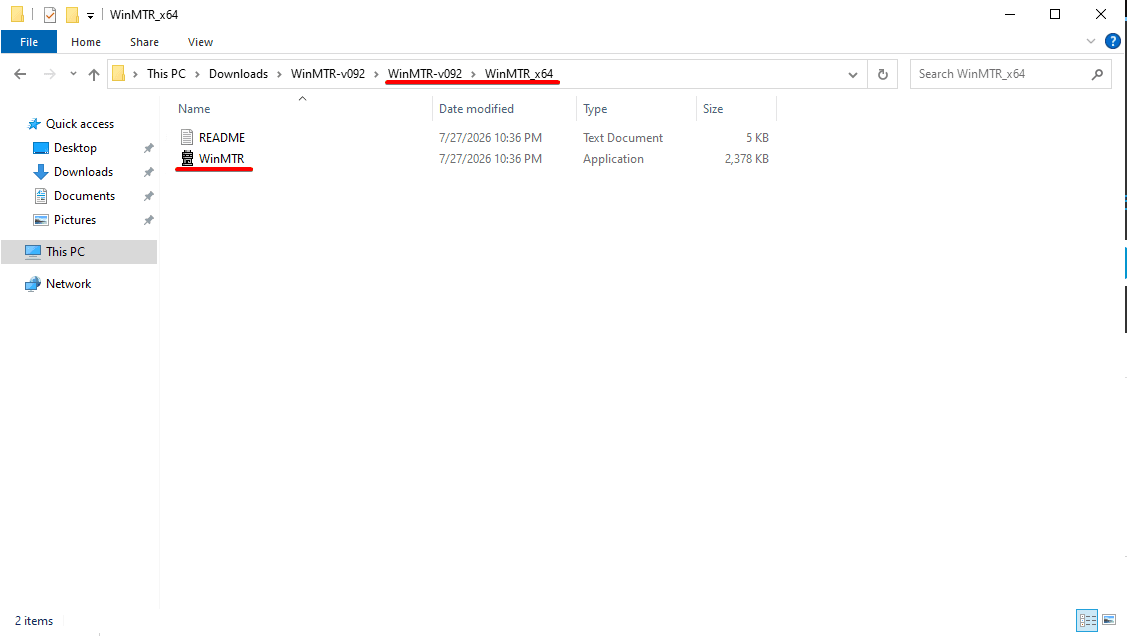
Open the extracted folder and run WinMTR.
Before starting the test:
- disable your VPN (if it is enabled);
- whenever possible, connect your computer to the Internet using an Ethernet cable instead of Wi-Fi.
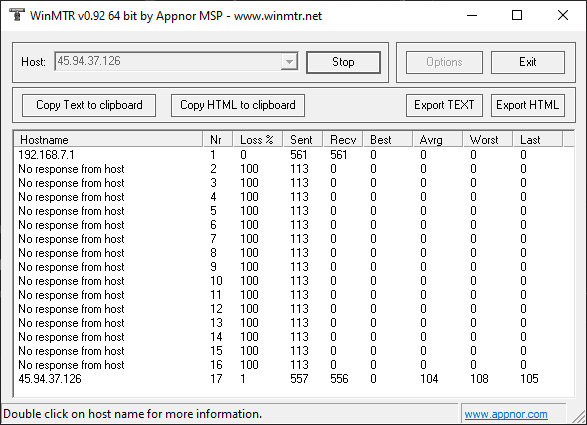
In the Host field, write the IP address of your server, then click Start.
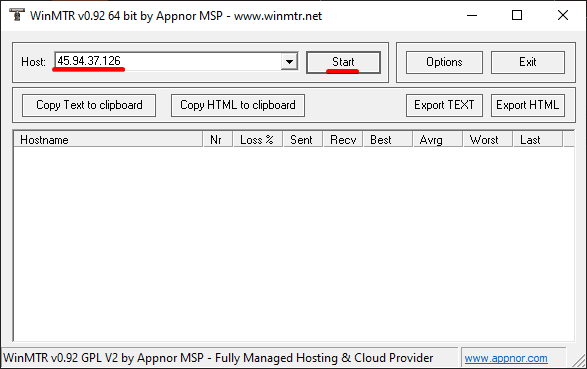
Let the program run for approximately 5 minutes.
Once the test is complete, take a screenshot of the WinMTR window and send it to the support team.
macOS
Install Homebrew, a package manager required to install MTR.
Open the Terminal application and run the following command:
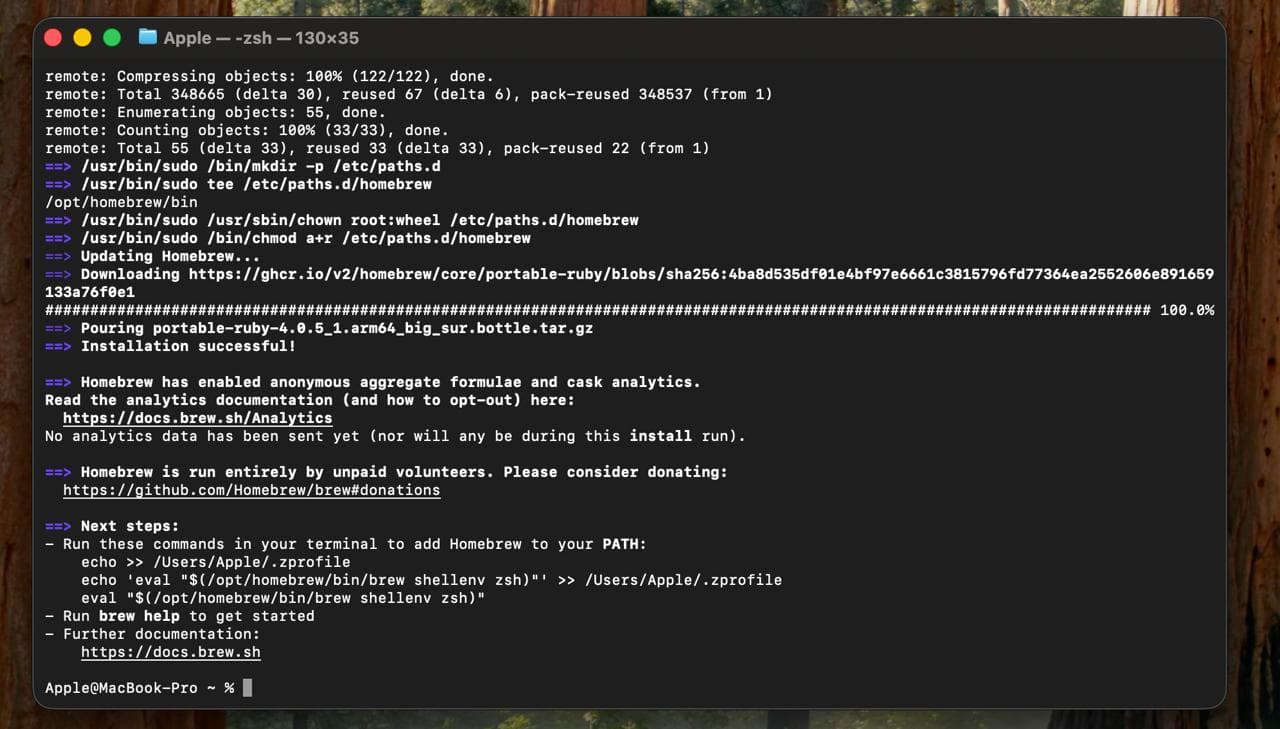
/bin/bash -c "$(curl -fsSL https://raw.githubusercontent.com/Homebrew/install/HEAD/install.sh)"During installation, macOS may ask for your account password. Enter it and wait for the installation to complete.
Once Homebrew has been installed successfully, you will see a confirmation message.
Close Terminal and open it again.
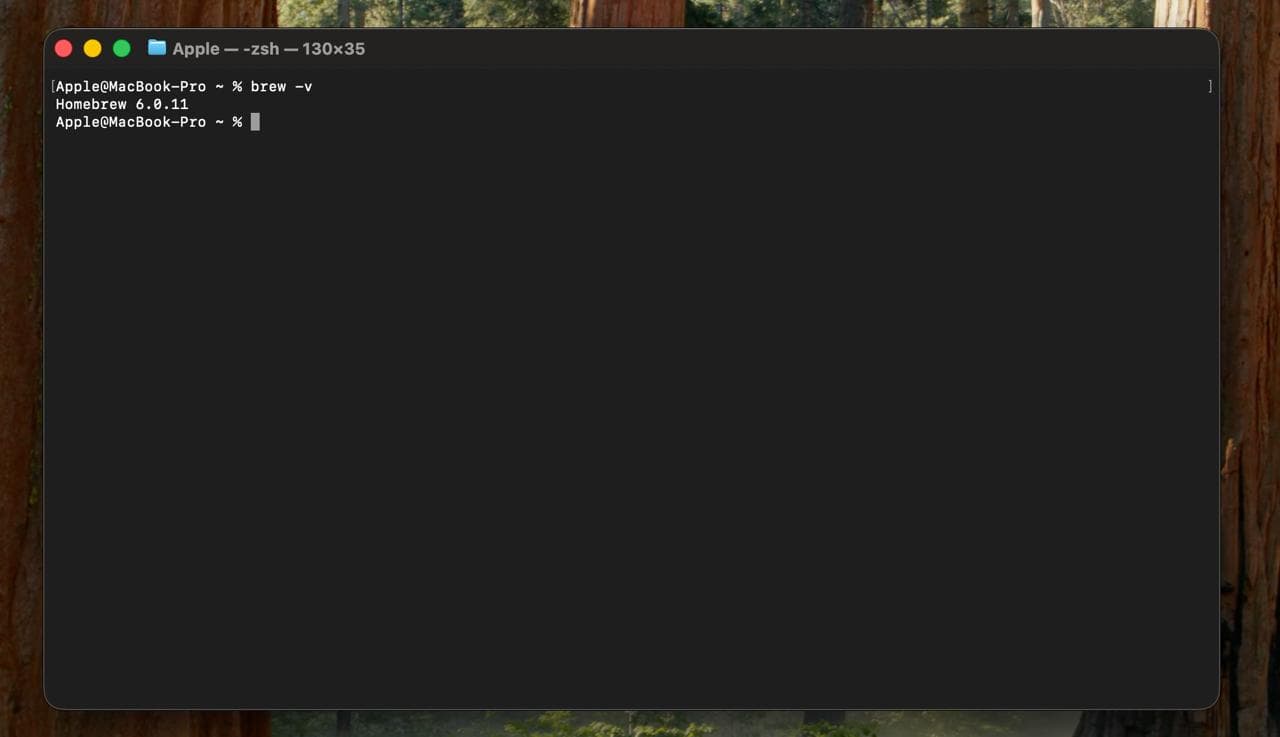
To verify that Homebrew is installed correctly, run:
brew -vIf the installation was successful, you will see the installed Homebrew version.
Now install MTR by running:
brew install mtrWait until the installation is complete.
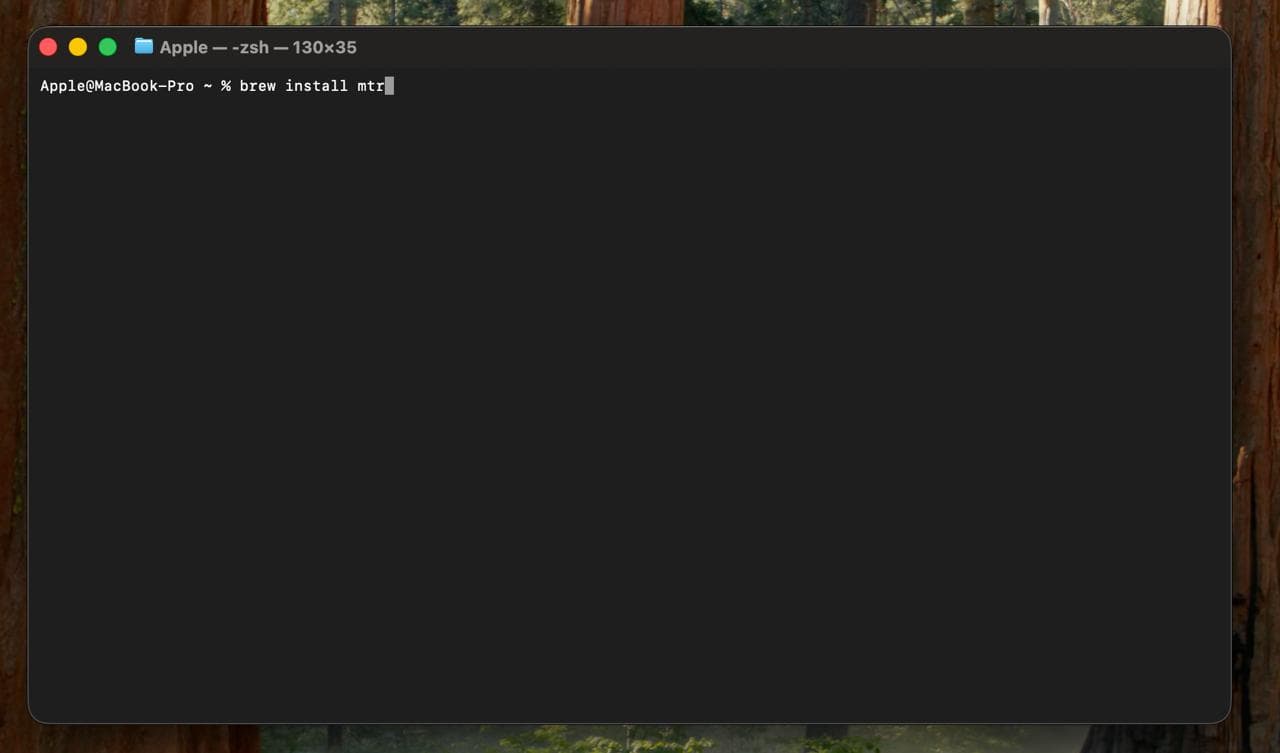
If prompted for confirmation during the installation, press Y and then Enter.
Once the installation is complete, MTR will be ready for configuration.
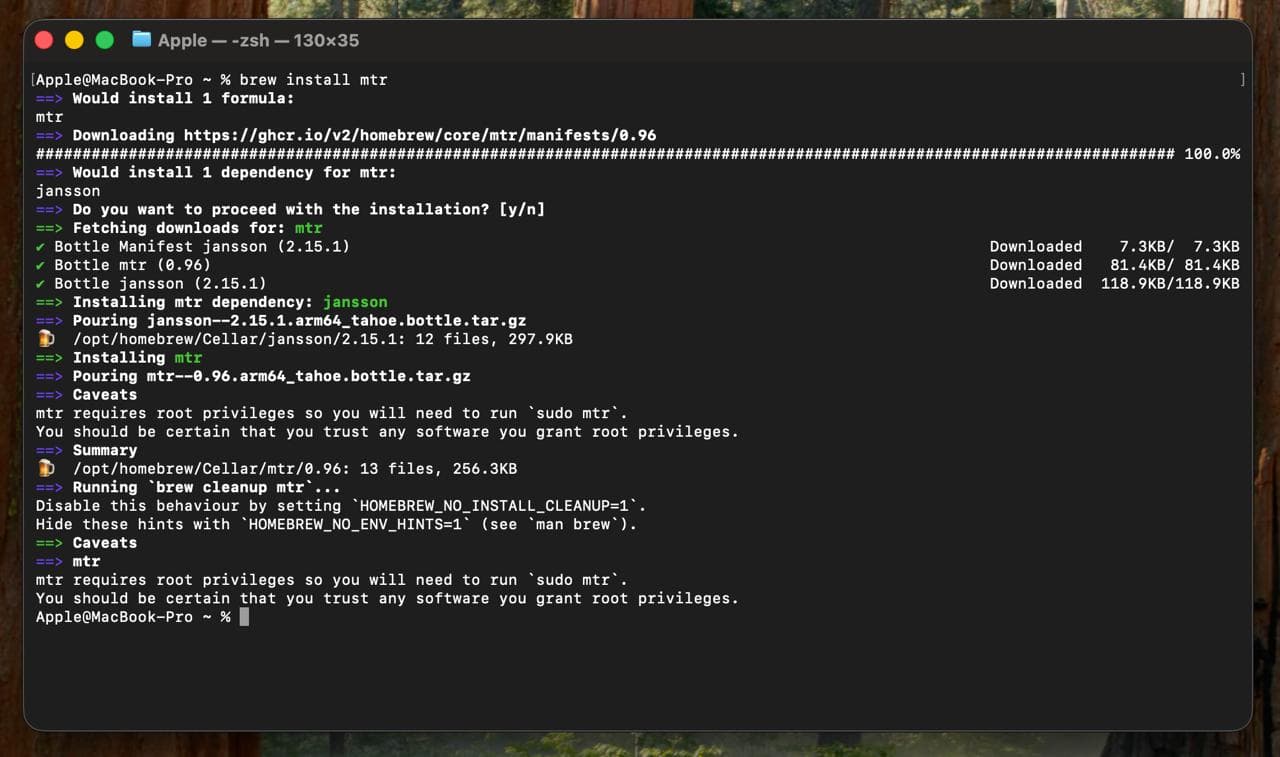
To ensure the mtr command works correctly, run:
sudo cp $(brew --prefix mtr)/sbin/mtr /usr/local/bin && sudo cp $(brew --prefix mtr)/sbin/mtr-packet /usr/local/binEnter your administrator password if prompted.
Before starting the test:
- disable your VPN, if it is enabled;
- whenever possible, connect your computer to the Internet using an Ethernet cable instead of Wi-Fi;
- replace
google.comwith the IP address of your server.
Run the test using:
sudo mtr -rwzb -c 200 <your_server_IP_address>For example:
sudo mtr -rwzb -c 200 203.0.113.10Allow the test to run for approximately 5 minutes, then take a screenshot of the Terminal window and send it to the support team.
If the command does not start, run the following commands one by one:
echo 'export PATH="/opt/homebrew/sbin:$PATH"' >> ~/.zshrcsource ~/.zshrcThen run again:
sudo mtr -rwzb -c 200 <your_server_IP_address>
Linux
Install the MTR utility. The installation process depends on your Linux distribution. Below is an example for Debian-based systems.
To install MTR on Ubuntu/Debian, run:
apt update && apt install mtr -y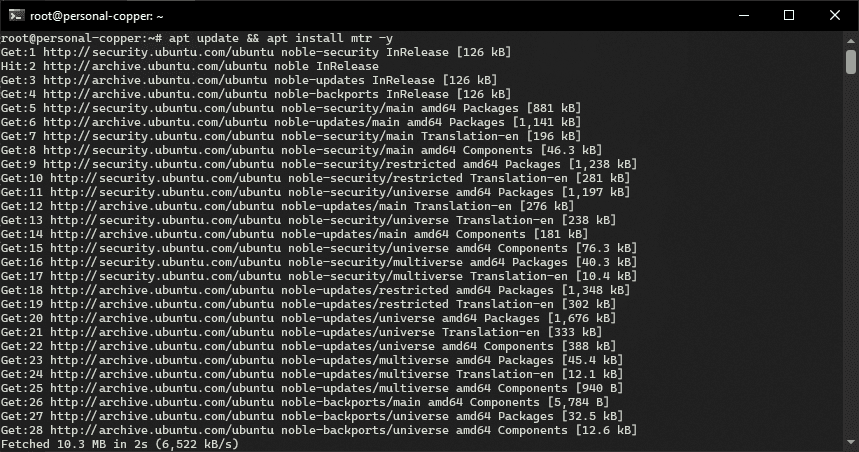
Before starting the test:
- disable your VPN, if it is enabled;
- whenever possible, connect your computer to the Internet using an Ethernet cable instead of Wi-Fi.
Then start the test by running:
mtr -rwzb -c 200 <your_server_IP_address>Allow the test to run for approximately 5 minutes, then take a screenshot and send it to the support team.
The test results will look similar to the following: